

* Note: Spoilers ahead regarding some of the characters, locations, enemies, and events of Demon’s Souls.
* Part 1 of this 2-part article can be found here.
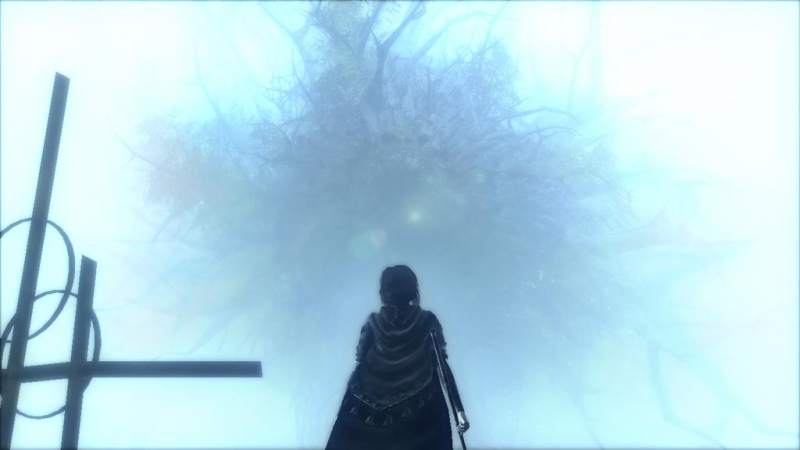
When last we left our valiant hero Lord Thrusticus, he was being murdered on a regular basis in my Soul Level 1 playthrough of Demon’s Souls. There must have been some kind of head injury involved at some point as I decided that it was a good idea to continue spending hour after hour throwing myself at the numerous harsh and deadly obstacles in my way, becoming frustrated and dying over and over again as I made progress at a pace that was often slow and gruelling. Videogames are fun, kids!
With my Royalty-class character already focusing on magic, I figured I should take on the Tower of Latria as not only would that lead to me rescuing Sage Freke, who could teach me new spells, but this world’s first boss possessed a soul which Freke could transform into Soul Ray – no, not a Ray Charles album but rather a more powerful replacement spell for my current Soul Arrow.
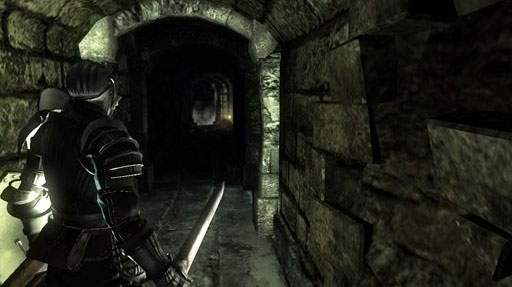
My trip into the Tower of Latria – like the Nexus, one of my favourite environments in the entire Souls series – was a rewarding one as between backstabbing the nightmarish Mind Flayers, I picked up the Ring of Magical Sharpness, which increased my magic damage by twenty percent and which I would use frequently from that point onwards.
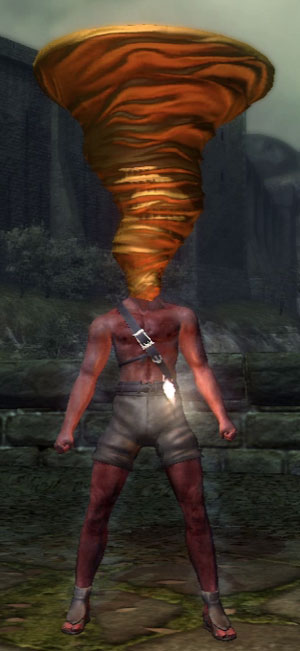
One occurrence which not only helped my magical capabilities but which was a first for me even after several playthroughs of Demon’s Souls is an innovative and brilliant feature unique to the Tower of Latria – I was summoned to another player’s game to act as the black phantom boss they would face at the end of this world. I waited in the boss room until the host arrived and then we fought until I scraped out a win, killing them and returning to my own world with a reward in the form of the Monk’s Head Collar – or the “Custard Tornado” as it’s often known amongst the Demon’s Souls community – a piece of headgear that looks ridiculous but which increased my magic damage even further. And my Dark Souls SL1 playthrough had already taught me that looking like an idiot was a small price to pay for increasing my odds of survival.
Given how much I would come to rely on magic in my SL1 playthrough, I was lucky to have had this opportunity fall into my lap. There was the small matter of the player I killed, of course, but the important thing was that I had been rewarded for being a selfish bastard. Good thing such people never prosper in real life, eh?
Next I rescued Sage Freke from his cell, killed my first AI black phantom and then took on the Tower of Latria’s first boss, Fool’s Idol. Rather than being a Billy Idol tribute act, Fool’s Idol is actually a twisted imitation of Latria’s former queen, who relies on magic when fighting you. Using my own magic in the form of the Flame Toss spell, I killed the boss and used her soul to create Soul Ray, which became my go-to spell from then on.
Taking a break from the Tower of Latria, I ventured into the world of the Valley of Defilement, another dark and treacherous place, more poisonous and filth-encrusted than a first-year university student’s bedroom. My time in the first section of the valley was about as pleasant as I expected it to be, involving several deaths to plague-carrying rats and enemies wielding daggers and burning sticks. But via a combination of magic and my Short Bow – along with much patience – eventually I reached the valley’s first boss, Leechmonger. Outfitted with my Kris Blade, Ring of Magical Sharpness, Monk’s Head Collar and Soul Ray, I went Gandalf on the Leechmonger’s ass (I’m not sure if it actually has an ass, but you get my meaning), raining down magical death from above. Another boss done.
Moving worlds once again, I returned to Stonefang Tunnel and began traversing the second section of this world, killing another two black phantoms and meeting Patches, a cheerful scoundrel who players of Dark Souls will also be familiar with. As tempting as it was to kill Patches immediately, he actually becomes a useful merchant when he relocates to the Nexus, so I let him live.
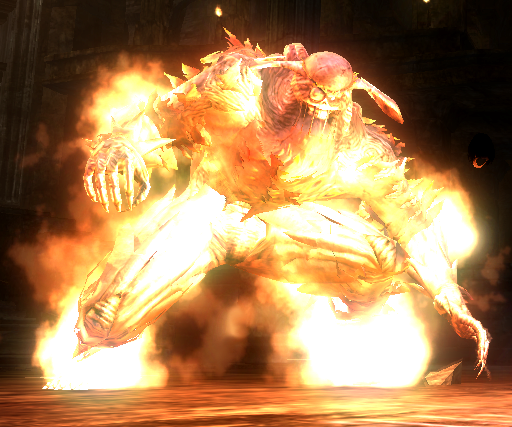
After clearing out this section of Stonefang Tunnel, it was time for the boss fight I’d been dreading more than any other: a battle with the rampaging, relentless and bestial Flamelurker. My first attempt actually went better than I expected and I got him down to about a quarter of his health before he killed me. But a few more deaths at Flamelurker’s fiery claws and I decided to explore some other worlds for a while and get killed in those instead. You know, for a change.
I found about as much relief as I expected in the vast poison swamp that is the Valley of Defilement’s second section, where I died several times to the giant cleaver of a black phantom and also once to a slightly less intimidating and impressive opponent – a mosquito. In my defence, it was a pretty big mosquito.
One odd and alarming glitch occurred soon afterwards when I passed a particular hole in a wall, one that usually contains a handful of enemies who ambush you as you pass by. This time, however, a seemingly endless stream of enemies was disgorged by the hole, with about five attacking me simultaneously while a new enemy spawned for every one I killed. Clearly the game was determined to kill me even if it meant cheating, so after dispatching a few of these enemies I chose to implement a strategic retreat rather than stay and be overwhelmed.
I fared a little better elsewhere, rescuing the sinister knight Yurt in the second section of the Tower of Latria and then killing the Adjudicator – the first Shrine of Storms boss – on my first attempt. Also, I swapped my wizard’s clothes for leather armour, leather gloves and fluted leggings in order to gain a little extra defence, for what it’s worth at Soul Level 1. The answer? “Not much.”
Deciding not to put it off any longer, I returned to Flamelurker and found myself dying several times not only during the fight itself but also during my attempts to reach the boss room. But finally, on about my tenth confrontation with Flamelurker, I killed the fiery bugger. As this final fight drew to a close and victory was in sight, my heart was hammering, and then, when I delivered the killing blow, I felt that elation which will be familiar to many Souls players. Having begun this Demon’s Souls SL1 playthrough off the back of playing Dark Souls 2, which I found disappointing in a number of areas including bosses, it was good to once again experience that combination of adrenaline and euphoria that comes with a great Souls boss-battle.
Giving the Flamelurker’s soul to the blacksmith Ed allowed me to begin upgrading my Kris Blade, further increasing my magic damage, although the particular souls needed to upgrade this weapon aren’t very easy to acquire. Staying in Stonefang Tunnel, I moved on to its final section, the battle with the Dragon God. His dragon-punching me to death in the post-tutorial bonus area had apparently given him a taste for it, as he proceeded to do the same thing several more times until I eventually defeated him. This was my first Archdemon kill, which meant that the next section of the Boletarian Palace was now open to me. Hooray, a new place in which to die!
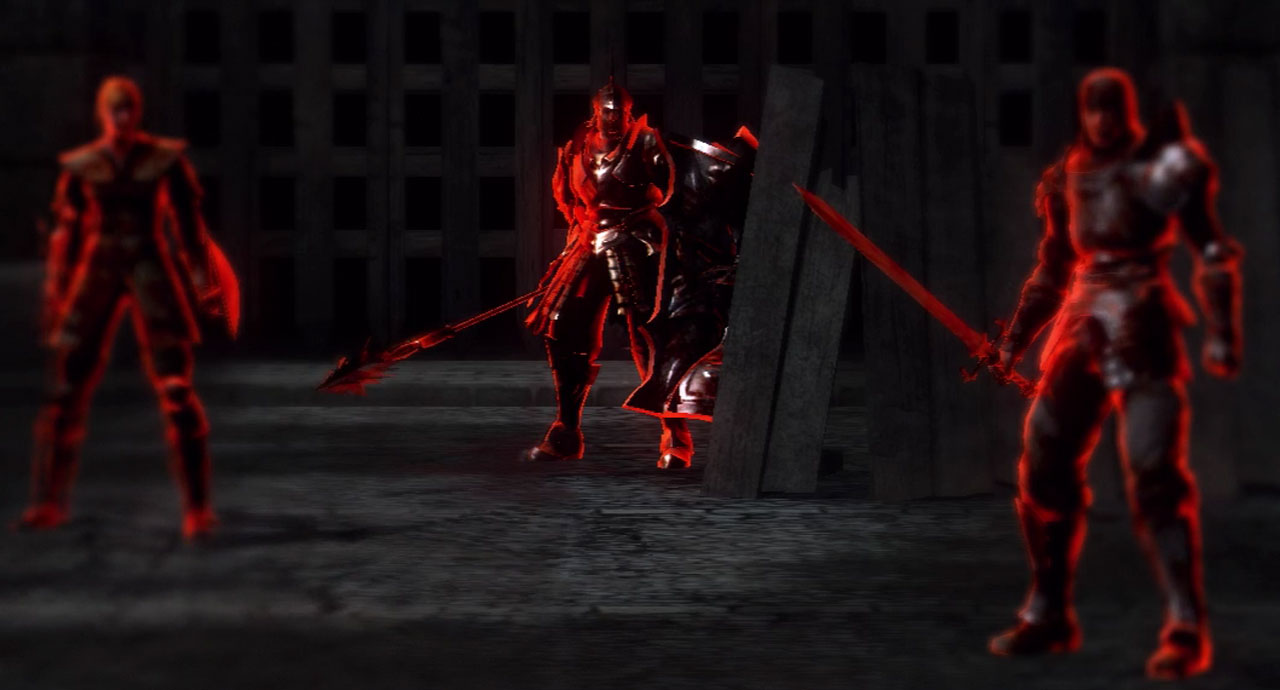
But first it was back to the second section of the Tower of Latria and the pair of bosses that awaited me – the Maneaters. (Oh-oh here they come – watch out, boy, they’ll chew you up). This can be one of the toughest boss fights in the game due to the fact that the lethal beast you initially face is soon joined by a second one as you fight it, so at SL1, this wasn’t an encounter I was looking forward to. In the end, though, it wasn’t too bad and I managed to kill the Maneaters on my fourth attempt by keeping away from the edges of the bridge on which the battle takes place, keeping my distance from the bosses themselves and firing Soul Ray over and over. There was also a lot of running and rolling and healing involved but it was all executed in a very collected and heroic manner, I assure you.
With the Maneaters dead it was time to face this world’s Archdemon, the Old Monk – or rather, the black phantom summoned by the Old Monk. With each of us rocking a glorious Custard Tornado, the computer-controlled phantom and I fought until I killed him on my third attempt. I then used the soul I received to create the Insanity Catalyst, thinking that this would further help me as a magic-user. Only after I’d created the catalyst did it occur to me that I didn’t possess the necessary stats to use it properly. That’ll be a unique soul wasted, then. Nice job.
It took me several more deaths but I finally conquered the poison swamp in the Valley of Defilement, and as expected the boss – the lumbering Dirty Colossus – was a piece of cake compared to the area leading to it, and I defeated it on my first attempt. Knowing I didn’t have to enter that damn swamp again could have made me weep with joy. But Lord Thrusticus does not weep. Lord Thrusticus kills.
Then it was on to one of the most memorable and thought-provoking boss encounters of the Souls series: the Valley of Defilement’s Archdemon, Maiden Astraea, and her loyal protector Garl Vinland. Ignoring Astraea’s pleas, I sniped her to death with my bow and then went to collect her soul only to get mashed by Garl Vinland’s giant hammer. When I returned, Garl was dead and gone, only his armour and shield left in his place, and I took them even though they were of no use to me in this playthrough. Because as I’ve always said, if you’re going to cause a man to die of grief then you should at least have the decency to loot his corpse afterwards as well.
Although I knew it was going to be tough, I steeled myself to complete the second section of the Shrine of Storms. But with its perilously narrow paths and incredibly dangerous enemies, I found myself dying here over and over, something made even more frustrating by the fact that there are no unlockable shortcuts in this area – you have to survive the entire gauntlet every time you want to fight the boss, Old Hero. With this in mind, when I did finally reach Old Hero, I desperately wanted to kill him first time. Thankfully, by taking a stealthy and patient approach to the fight – Old Hero is blind, which makes such an approach a very effective one – I managed to do just that. So the next time someone tells you off for hurling magic at a blind person, you tell them to go to Hell.
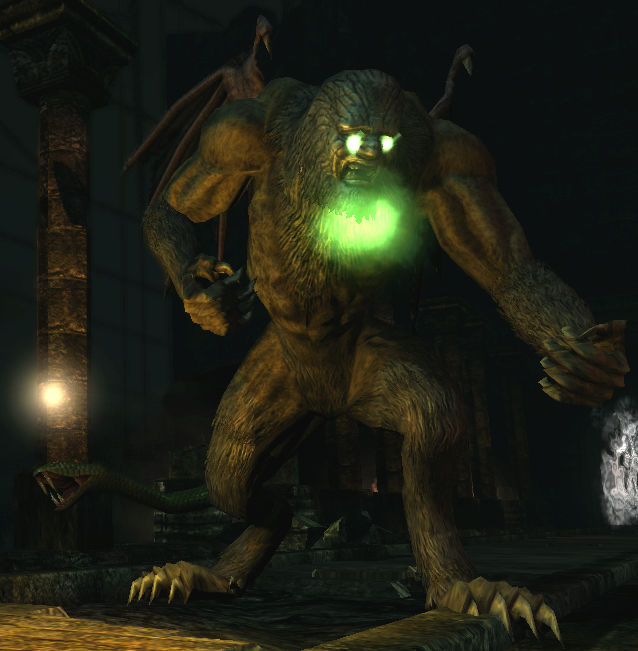
The Archdemon of the Shrine of Storms, the impressive flying behemoth that is the Storm King, lay in wait next. By picking a safe spot in the boss area, one I could use as cover against the attacks of both the Storm King and its numerous minions, this was an easy fight.
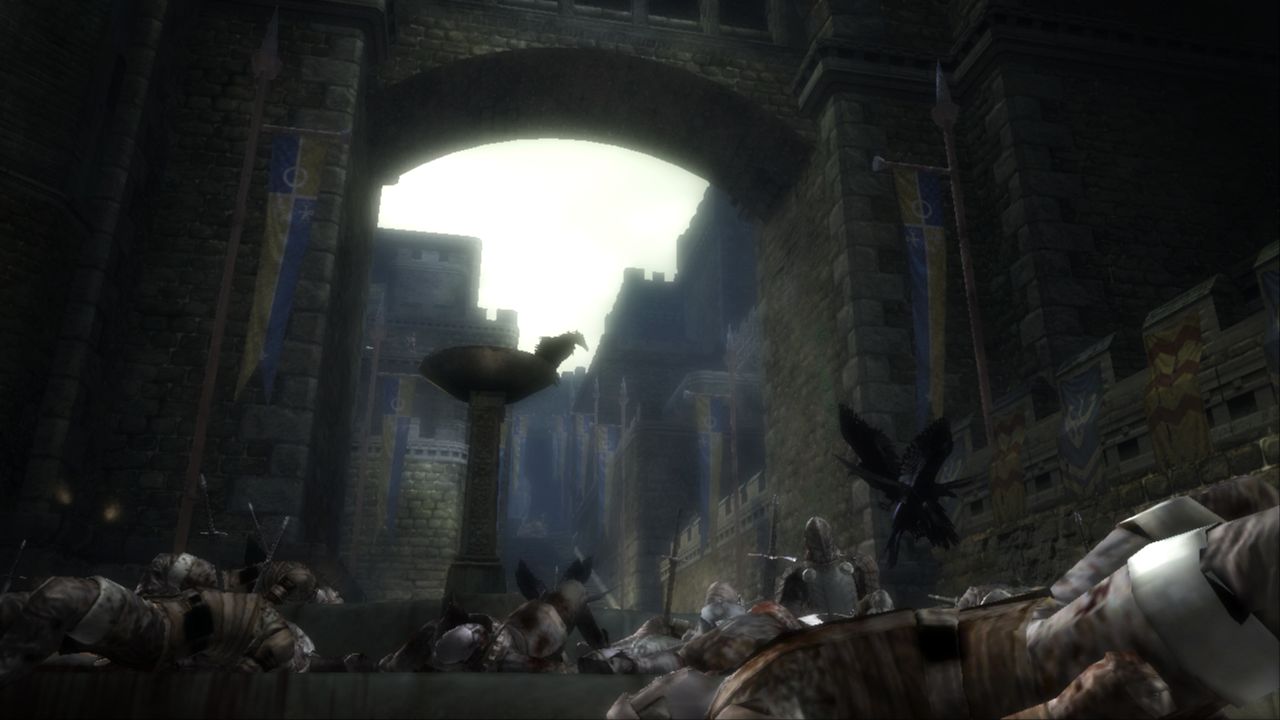
With the four other worlds now conquered, it was time to return to the Boletarian Palace, specifically its third section, which I wasn’t expecting to be too much trouble. Turns out I was utterly wrong in that assumption: death by a crossbowman pincer attack, death by a red-eyed knight, death by a burning boulder, death by a Fat Official, death by an axe-wielding soldier – you get the idea. I did take some grim satisfaction in killing the bumbling knight Ostrava, who you’re tasked with helping several times, and taking from his corpse the key which then allowed me to achieve another Demon’s Souls personal first – killing Old King Doran, the ancient and powerful king who resides in the mausoleum unlocked by Ostrava’s key.
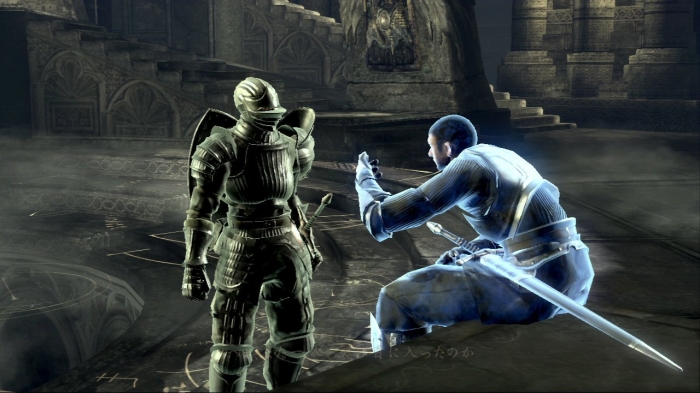
When I did finally reach the next Boletarian Palace boss, Penetrator (“I hardly even know ‘er!”), what might have been an epic contest between Penetrator and Lord Thrusticus for the title of “Thrustmaster General” turned out to be an extremely easy fight due to the assistance I received from the knight Biorr, who I had rescued from imprisonment beforehand. Biorr can withstand a lot of punishment so he acted as a useful distraction while I blasted Penetrator from a distance with Soul Ray.
I then moved on to the final section of the Boletarian Palace and the penultimate area of the whole game, which tasks you with entering the heart of King Allant’s castle and ascending to the throne room to confront the king. Of course, standing in my way were enemies such as black phantoms, red-eyed knights, Fat Officials, and a fire-breathing blue dragon.
The black phantoms weren’t too much trouble as I could fight them one at a time and thankfully they don’t respawn. The same goes for the blue dragon, who I also killed (after he did the same to me several times), and this was my final Demon’s Souls personal first in this playthrough. I encountered and killed the black phantom version of Ostrava, and was reminded of just how bleak and powerful the ending to his story is (if you don’t kill him early like I did). One of the reasons why Demon’s Souls is possibly my favourite Souls game is its bleak atmosphere that often – ironically – makes it a darker game than Dark Souls and especially Dark Souls II.
I found my love for Demon’s Souls tested, however, by what awaited me in the throne room: a fight with the demonic impostor Old King Allant. Already a challenging fight in most regular playthroughs, at Soul Level 1 – even with all of my magic-enhancing equipment – I found this to be one of the most difficult fights of my playthrough, the frustrations caused by my defeats being made much worse by the amount of time it took just to return to the boss battle after each death. Even with the non-respawning enemies gone, just reaching the throne room required a hazardous and lengthy trek every single time.
Even so, the Old King Allant fight at SL1 seemed hard but certainly not impossible. However, his difficulty combined with the time it took to reach him, as well as the fact that by this point I’d spent thirty hours on this SL1 playthrough and wanted to finish it so I could actually write this damn article, led to me resorting to an extremely cheap method of beating him: entering the boss room and killing him from a distance with poisoned arrows, a method by which you can kill him without him even attacking you. It was an anticlimactic way to overcome the final proper boss fight of the game, sure, and I’m confident that if I’d had the time to fight Old King Allant time and time again then eventually I could have beaten him legitimately. But… well… fuck it, I didn’t. And remember: before you judge a man, walk a mile in his shoes. (That way, when you do judge him, he’s a mile away and you’ve got his shoes).
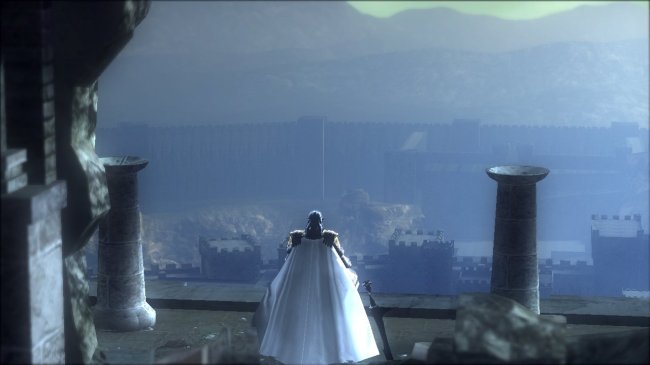
With Old King Allant dead, it was time for me to enter the final area of the game, although my playthrough was essentially complete at this point as this area, although important to the story and very cool in terms of atmosphere and aesthetics, is mostly for the sake of the narrative as it contains no regular enemies and just one very weak boss who barely puts up a fight and isn’t intended to be a real challenge.
Soon the final boss was dead and the game presented me with the choice that determines which of the two endings you receive along with which of the two unique items you will be granted for your New Game Plus playthrough. I chose the ostensibly “good” ending, although like Dark Souls, the story of Demon’s Souls isn’t as simple as good and evil or right and wrong, it’s much more nuanced and subjective than that.
And that was it. My Soul Level 1 playthrough of Demon’s Souls was done. On the whole, I enjoyed it. Like my Dark Souls SL1 run before it, it was a fun and interesting challenge with only a few particularly frustrating points, and again like Dark Souls, this is a testament to the finely balanced design and difficulty of Demon’s Souls. Although I was slightly disappointed with myself about resorting to cheap tactics to kill Old King Allant, I had felt the same about giving up on killing optional bosses Manus and Kalameet during my Dark Souls SL1 playthrough – basically, it was a shame but I’d already spent a lot of time on the playthrough and needed to finish it.
As for how Dark Souls and Demon’s Souls compare in terms of a Soul Level 1 playthrough, both were tough but I found that the greater challenge in the former was usually the bosses while the greater challenge in the latter was usually the levels themselves. This was my personal experience anyway, no doubt some will disagree. Either way, I’d definitely recommend SL1 playthroughs of both games to any Souls fan yet to take on the challenge.
For a number of years now it’s been rare for me to play through a game more than once – even if the game in question is great – simply due to the fact that there are so many other great games to play and thus my backlog never seems to diminish much. Demon’s Souls and Dark Souls are exceptions, however, as I’ve played through each game several times. These two games are simply incredible, hence why I keep coming back to them, and frankly I can’t envision a time when I’m not thinking about playing one or the other.
I suppose now that I’ve completed a Soul Level 1 playthrough of both Demon’s Souls and Dark Souls, I should think about attempting the same with Dark Souls II. Except that while the first two Souls games are fair for the most part, I found Dark Souls II to be cheap, unbalanced and frustrating far too often to consider doing so. Maybe sometime in the future, if I’m feeling particularly masochistic.
For now I’ll just crack open a beer and let Lord Thrusticus relax in the Nexus next to my old pal and that comfortingly regular fixture of the Souls series, the Crestfallen Warrior. As the man says: “No matter. Have a seat; we can sit here forever!” Eternity spent in the brilliance of Demon’s Souls? Sounds like a plan, C.W. Sounds like a plan.
Alex De-Gruchy is a writer and editor of fiction and non-fiction whose work has covered comic books, prose and videogames. His 8-issue comic series The Fallen, from publisher Monkeybrain, is currently being published on Comixology, while two graphic novels he has written will see release in 2015 from Markosia Enterprises. In terms of videogames, he has worked as a writer on iOS action / strategy title Crystal Arena while his upcoming videogame projects include interactive novel Eternal Forest and action-adventure Edelin Tales: Portals of Doom. To witness more wordy outpourings from his brain-meats, find him on Twitter: @AlexDeGruchy
